Of all the weeknight dinners that promise more than they deliver, the one-pan chicken and rice has the worst reputation. You follow the recipe. The rice is either crunchy in the middle or blown out and mushy at the edges. The chicken sits on top looking pale and steamed rather than roasted. You eat it anyway, because it’s Tuesday, and you tell yourself you’ll get it right next time.
Here’s what’s actually going wrong, and it’s two techniques most home cooks skip;d once you understand why they matter, this dish stops being a gamble and starts being a weeknight standby.
Toast the Rice. Every Time
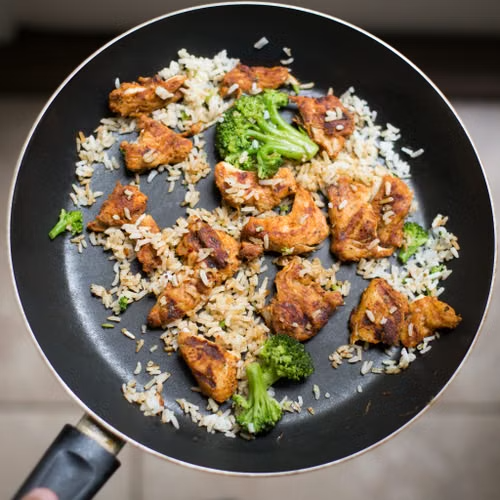
Before any liquid touches the pan, the dry rice goes in. Fat first: a generous pour of neutral oil or a tablespoon of lard if you have it, then the raw rice, stirred constantly over medium-high heat until each grain goes from white to the color of pale straw. This takes about three minutes. Some grains will look slightly golden. A few will start to smell faintly nutty. That’s exactly where you want to be.
Toasting does two things. It dries out the outer starch on each grain, which means the cooked rice holds its shape instead of clumping. And it starts building a flavor layer in the pan before a single vegetable or liquid arrives. Skipping this step is why so many one-pan rice dishes taste flat; you’re building the whole dish on a bland foundation.
Once the rice is toasted, in goes the aromatics: diced white onion, a few cloves of garlic, and a diced tomato or a few tablespoons of tomato paste if you’re working from the pantry. Stir everything together and let the tomato cook down for a couple of minutes until the pan smells like something you’d actually want to eat.
Sear the Chicken Separately. Then Add It Back
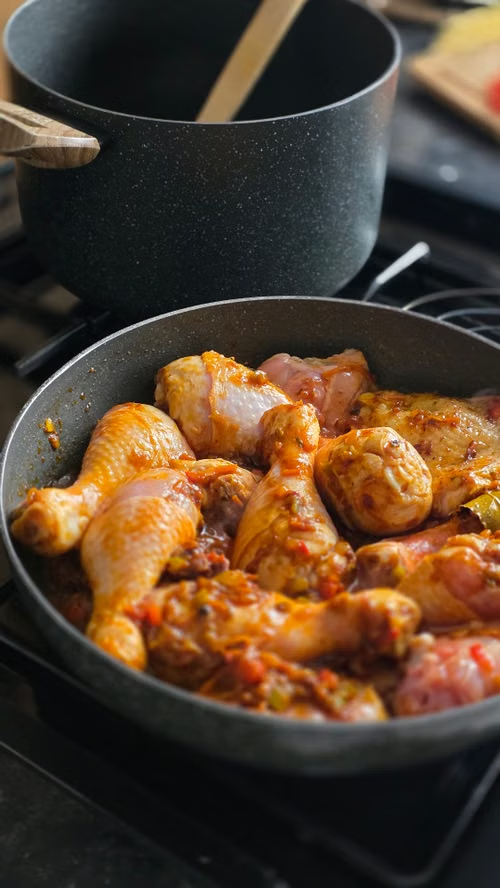
And here’s the part most one-pan recipes skip entirely: the chicken needs a real sear before it goes into the rice. A real sear, skin-side down in a hot pan, until the skin is deeply golden and releases from the surface on its own. That takes four to five minutes and a pan that’s genuinely hot before the chicken touches it.
The reason this matters is simple. Chicken thighs, and this dish works best with bone-in, skin-on thighs, release a significant amount of liquid as they cook. If you nestle raw chicken into the rice and pour in the broth, the chicken steams as much as it roasts. The skin goes soft. The rice absorbs the chicken’s released liquid along with the broth, and the balance gets thrown off. You end up with wet rice and pale chicken, which is the exact outcome you were trying to avoid.
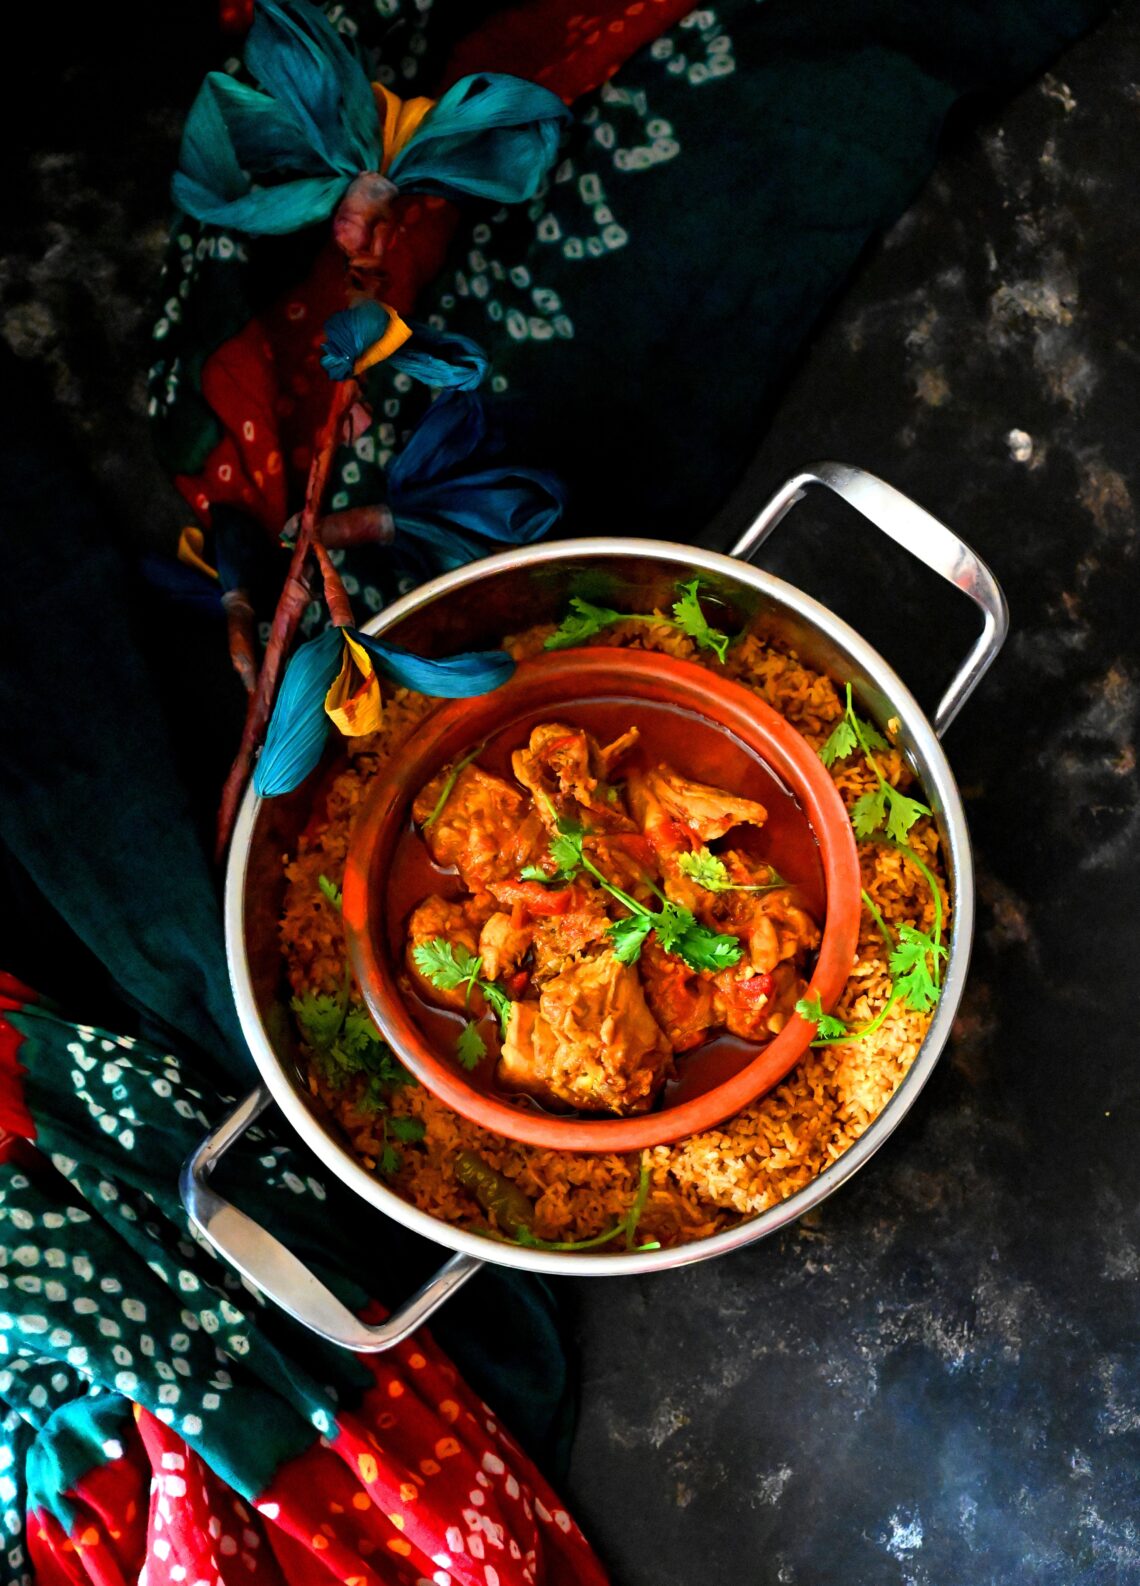
Sear the chicken first, set it aside, build the rice in the same pan, so you get every bit of the fond those thighs left behind, then nestle the seared chicken back in on top of the rice before you add the broth. The skin stays above the liquid line. The rice cooks in seasoned broth below. The whole thing finishes in the oven or covered on the stovetop, and the chicken comes out with a proper crust.
The Liquid Ratio and the Spice Blend
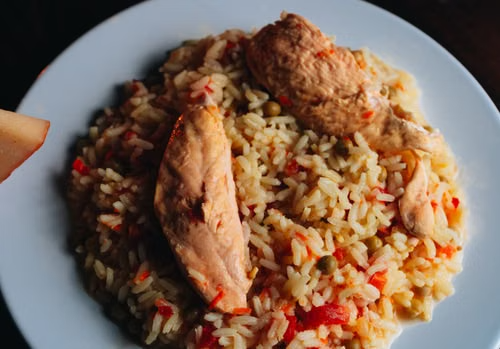
For the seasoning, keep it direct: cumin, chili powder, smoked paprika, garlic powder, salt, and dried oregano. Rub the chicken thighs with this mixture before they go anywhere near the pan. The spices on the skin will bloom in the hot oil during the sear and add another layer of depth to the fond you’re building.
The liquid ratio for this style of rice is one part rice to roughly one and three-quarter parts broth. Chicken broth works best here; it reinforces the flavor already in the pan. You can add a small can of diced green chiles stirred into the broth, or a spoonful of your favorite salsa, depending on what you have open. Neither is wrong. Both add a mild brightness that keeps the dish from tasting heavy.
Bring the liquid to a simmer, nestle in the seared chicken, cover the pan tightly, and reduce the heat to low. The rice needs about eighteen to twenty minutes to absorb the liquid completely. Resist the urge to lift the lid. Every time you check, you’re releasing steam that the rice needs to finish cooking. When the liquid is absorbed and the rice is tender all the way through, pull the lid and let the chicken sit uncovered for five minutes so the skin crisps back up.
A handful of frozen peas stirred in during the last five minutes adds color and a small pop of sweetness. Sliced scallions and a squeeze of lime go on just before serving. Neither is optional, as far as flavor goes; the acid from the lime cuts through the richness of the chicken fat and ties everything together.
This is the kind of meal that looks more involved than it is. One pan, one hour from start to finish, and the kind of flavor that makes it seem like you had something simmering all afternoon. Get the toast right, get the sear right, and the rest follows.
If you’ve been skipping the sear because it adds a step, try it once with these thighs and see if you go back. Most people don’t.
Sources
Background on toasting rice for texture and flavor development
General technique reference for stovetop and oven methods
This article was created with AI assistance and reviewed for clarity and accuracy.