The smell of a flour tortilla cooking on a dry cast iron pan that faint toasted-wheat scent with the first blistered spots appearing is one of those kitchen smells that pulls people in from the other room. Most of us grew up eating tortillas from a plastic bag. Good ones, sometimes. But not like this.
Flour tortillas are not complicated. Four ingredients. No special equipment. What they do require is understanding a few things about how the dough works, why it needs to rest, why the fat matters, and why rushing the cook will give you something stiff instead of soft. Get those right, and you’ll wonder why you ever bought them.
What Goes Into the Dough
The basic recipe is flour, fat, salt, and warm water. That’s it. The ratio that works consistently is two cups of all-purpose flour to about a third of a cup of fat, a half teaspoon of salt, and roughly three-quarters of a cup of warm water, though you may need a tablespoon more or less depending on humidity and how your flour was measured.
The fat question is where opinions split. Traditional recipes in northern Mexico use lard, and there’s a reason for that. Lard produces a tortilla with a tender, slightly flaky interior and a softness that vegetable shortening approximates reasonably well. Butter works and adds flavor, but it can make the dough a little stiffer and the finished tortilla less pliable. Vegetable oil is the most common modern substitute. It works, though the result is a touch less rich. If you want the closest thing to a restaurant-style flour tortilla, shortening or lard will get you there. Butter is for when that flavor sounds good for what you’re making.
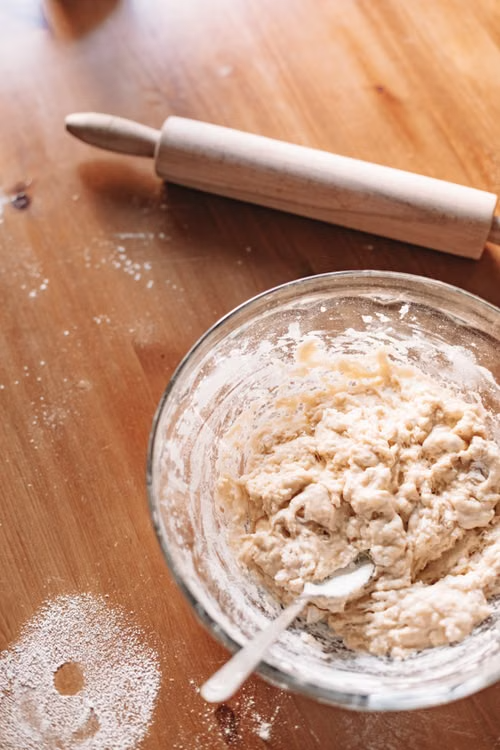
Combine the dry ingredients first, then rub the fat in by hand until the mixture looks like coarse sand. Add the warm water gradually and mix until a shaggy dough forms, then knead for about two minutes until smooth. It won’t be perfectly silky at this point. That’s fine.
Why the Rest Matters More Than the Kneading
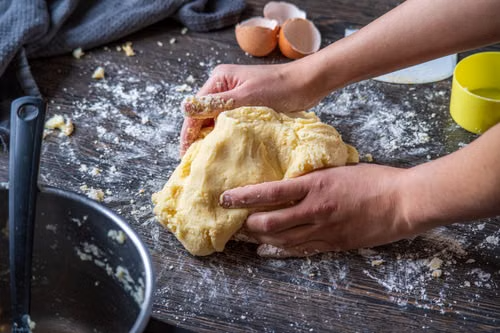
Here’s where most home recipes rush things: the rest. The dough needs at least 30 minutes covered at room temperature, and an hour is better. This isn’t about flavor development. It’s about gluten.
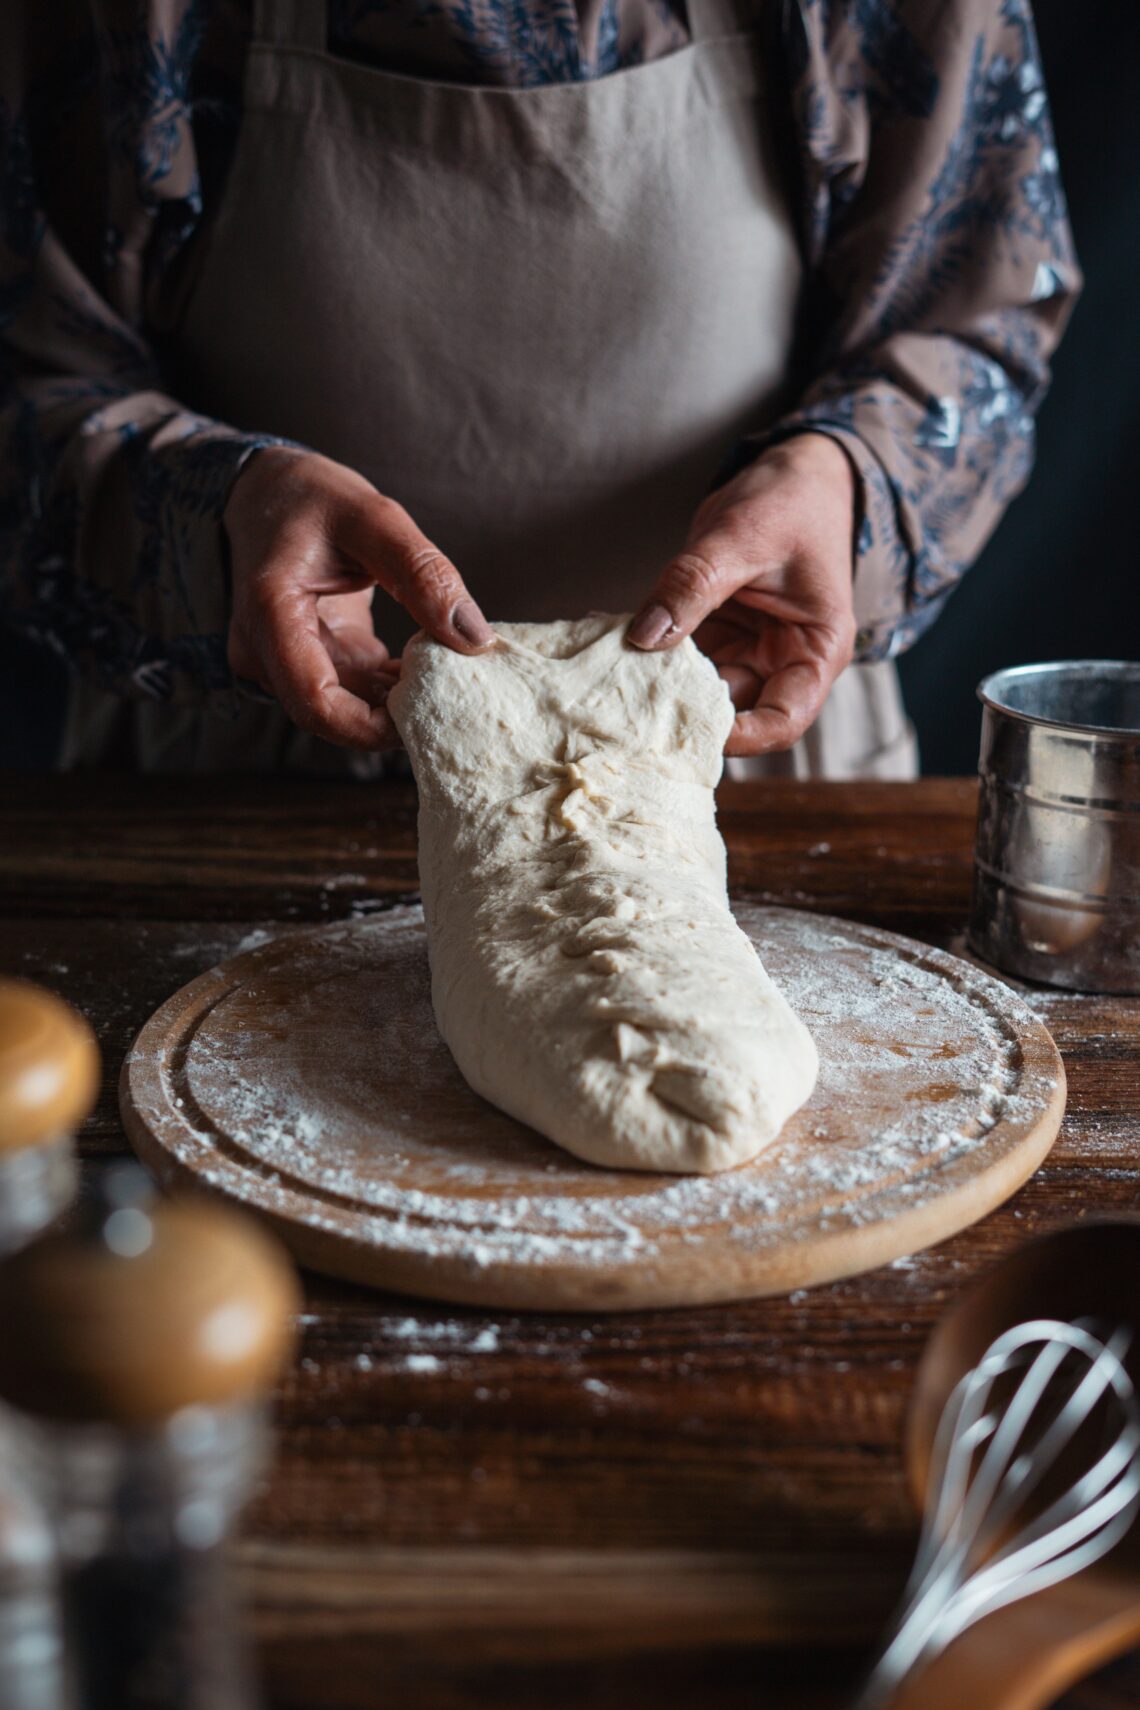
When you mix flour and water, gluten strands form and tighten. Try to roll a just-made tortilla dough,h and it will spring back, shrink, and resist you. The gluten simply hasn’t had time to relax. After resting, those same strands loosen enough to roll thin without retracting. Thirty minutes of patience on the counter does more for the final texture than any amount of extra kneading.
Divide the rested dough into balls. For standard 8-inch tortillas, aim for golf-ball-sized portions, usually eight to ten from this amount of dough. Cover the balls with a damp towel and let them rest another ten minutes before rolling. Another small wait that pays out in softness.
Rolling and Cooking
Source: Pexels
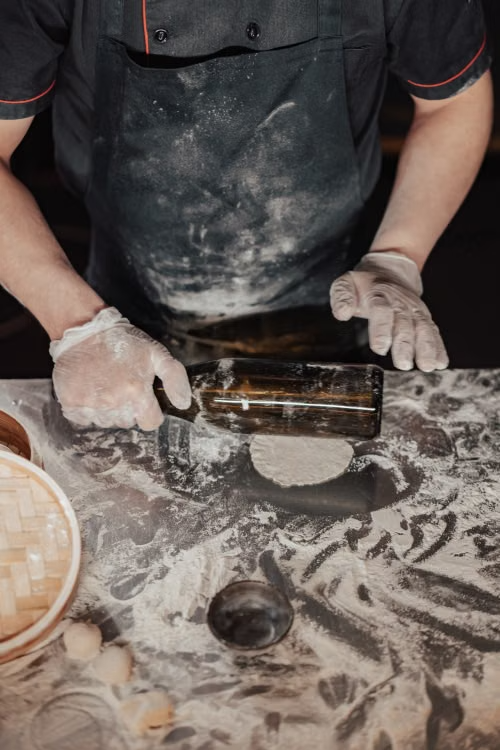
Roll each ball on an unfloured surface. A little friction helps. Start from the center and push outward, rotating the dough a quarter turn every few strokes. You’re aiming for roughly an eighth of an inch thick, thin enough to see a bit of light through, not so thin it tears when you lift it. Perfectly round is a goal, not a requirement. Imperfect tortillas taste identical to perfect ones.
Cook them on a dry pan, cast iron,n or a comal if you have one, a nonstick skillet if you don’t. The pan needs to be hot. Medium-high heat. No oil. Lay the tortilla flat and watch for bubbles to form across the surface, which takes about 45 to 60 seconds. Flip when the underside has pale golden spots, and the bubbles look set. Another 30 to 45 seconds on the second side. Some tortillas will puff up dramatically; that’s the steam between layers, and it’s a good sign.
Stack finished tortillas under a clean kitchen towel. The steam trapped between them finishes the job, softening the surface and keeping the edges from going leathery. This is the move most people skip, and it’s the reason homemade tortillas sometimes come out stiff: they cool uncovered on a plate and dry out before anyone eats them.
The Common Mistakes Worth Knowing
A pan that isn’t hot enough is the most frequent problem. If the tortilla sits in a lukewarm pan, it dries out before it cooks through. You want fast, high heat; contact with a properly preheated surface sets the structure quickly and keeps the interior from toughening.
Overworking the dough is the second issue. Two minutes of kneading is enough. More than that and the gluten gets tight again, which makes rolling harder and the finished tortilla chewier than it should be.
Rolling too thick gives you something that tastes like a flour pancake. Rolling too thin tears the dough and creates holes that become scorch marks in the pan. The right thickness comes with a few tries. Your third tortilla will be better than your first.
And the resting. Worth saying again. Skip it, and everything is harder: the rolling, the shape, the texture. The half-hour rest is not optional.
Cooked tortillas keep well. Wrap them tightly and refrigerate for up to five days. To reheat, set one directly on a warm burner for about 30 seconds per side, or wrap a stack in a damp paper towel and microwave for 45 seconds. They come back to nearly-fresh softness either way. You can also freeze them layered with parchment and pull them out one at a time.
Uncooked dough balls can be refrigerated overnight, covered, and rolled fresh the next day. Some cooks swear the flavor is better after a night in the fridge. It’s a mild difference, but it’s there.
Making flour tortillas from scratch is one of those kitchen skills that sounds like more work than it is. The actual hands-on time is under thirty minutes. What you get in return- warm, soft, slightly blistered tortillas that you rolled yourself- makes everything wrapped in them taste better. Which sounds like an exaggeration until you try it.
Sources
Background on ingredients, regional variations, and traditional preparation methods
Technique reference for dough ratios, fat selection, and cooking method
This article was created with AI assistance and reviewed for clarity and accuracy.