There’s a moment, about ten minutes into making enchilada sauce from scratch, when the kitchen fills with the smell of toasted chiles and warm cumin, and you understand exactly why canned sauce has always felt like a compromise. The color deepens in the pan, brick red going darker, almost mahogany, and the whole project stops feeling like a weeknight gamble and starts feeling like the real thing.
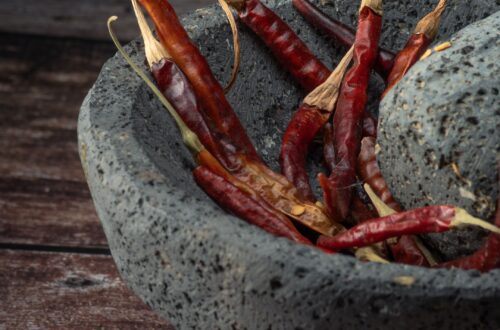
This is a recipe that rewards a little patience without demanding a lot of skill. The sauce itself is built on dried chiles, which sounds more intimidating than it is. Most well-stocked grocery stores carry guajillo and ancho chiles in the dried goods aisle, often near the Latin American ingredients. Guajillo chiles bring a mild, slightly fruity heat. Ancho chiles are dried poblanos with a deep, earthy sweetness. Together, they build a sauce with actual layers, not the flat, one-note flavor that comes out of a can.
Making the Sauce
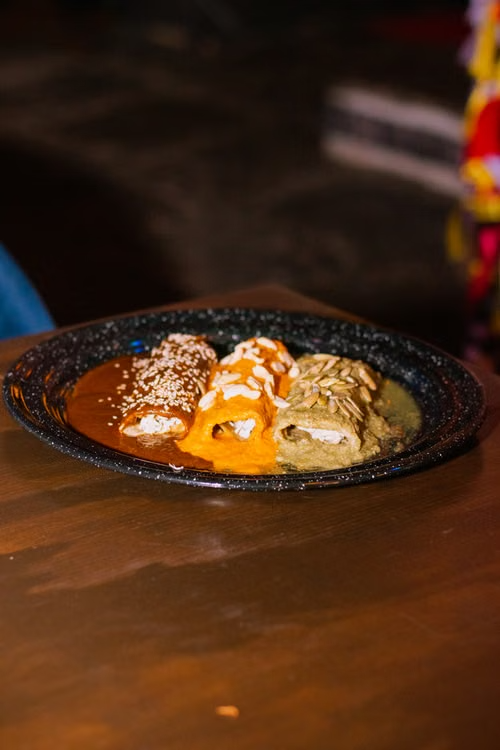
Start by pulling the stems and shaking out the seeds from four to six dried guajillo chiles and two ancho chiles. Toast them in a dry skillet over medium heat for about thirty seconds per side, pressing them flat with a spatula, until they smell fragrant and just begin to soften. Don’t walk away; they go from toasted to bitter fast. Transfer them to a bowl, cover with hot water, and let them soak for fifteen to twenty minutes.
While the chiles soak, sauté half a white onion (roughly chopped) and four garlic cloves in a little vegetable oil until soft, about five minutes. Drain the chiles, reserving a cup of the soaking liquid. Add the chiles, onion, garlic, a teaspoon of cumin, half a teaspoon of dried oregano, and a cup of chicken broth to a blender. Blend until completely smooth. If the sauce is too thick to move, add some of that reserved soaking liquid a few tablespoons at a time.
And here’s the part most people skip: strain the blended sauce through a fine mesh sieve. It takes two minutes and makes the texture genuinely silky instead of slightly grainy. Worth it.
Pour the strained sauce back into the pan, cook it over medium heat for about eight minutes until it thickens slightly and the raw edge cooks off. Taste it. Adjust with salt. This is your sauce, and at this point, the canned version is a distant memory.
Assembling the Enchiladas
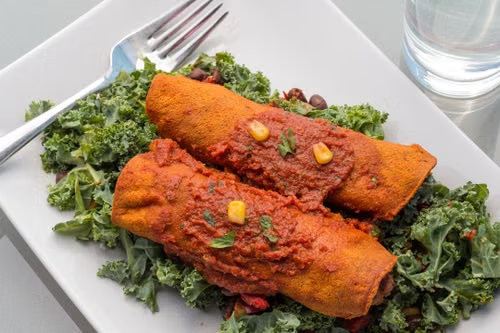
For the filling, shredded chicken is the classic choice and the easiest one. A rotisserie chicken works perfectly here; pull two cups of meat, shred it, and toss it with a few spoonfuls of the sauce and a small handful of shredded Oaxacan cheese or Monterey Jack if that’s what you have. The cheese melts into the chicken and keeps things from feeling dry once the enchiladas bake.
Corn tortillas are traditional, and they hold up better under the sauce than flour ones do. The trick is warming them so they roll without cracking. Thirty seconds per side in a dry skillet works fine. Some cooks pass them briefly through the warm sauce itself, which adds flavor and makes them even more pliable. Either way, a cold, stiff corn tortilla is going to split on you.
Lay a warm tortilla flat, add a generous tablespoon or two of filling, roll it tightly, and set it seam-side down in a baking dish. Repeat until the dish is full, usually eight to ten enchiladas in a standard 9×13. Pour the remaining sauce over the top, spreading it to coat every tortilla. Scatter shredded cheese generously over everything.
Bake at 375°F for about twenty minutes, until the cheese is melted and bubbling at the edges. The tortillas will absorb some of the sauce and turn slightly tender, which is exactly what you want. The finished dish shouldn’t look dry or tight; if it does, a little more sauce before baking would have helped.
What Goes On Top
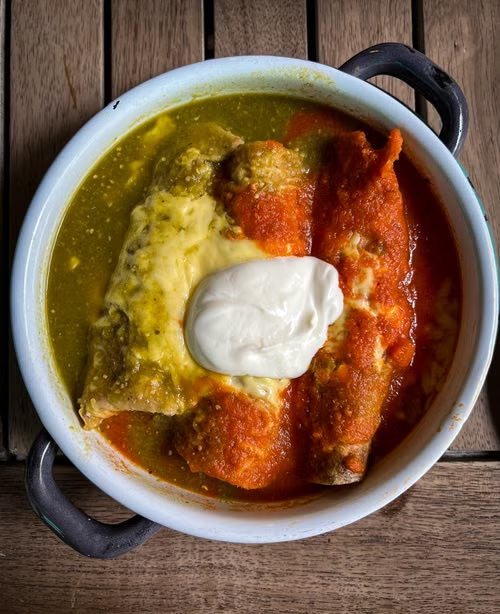
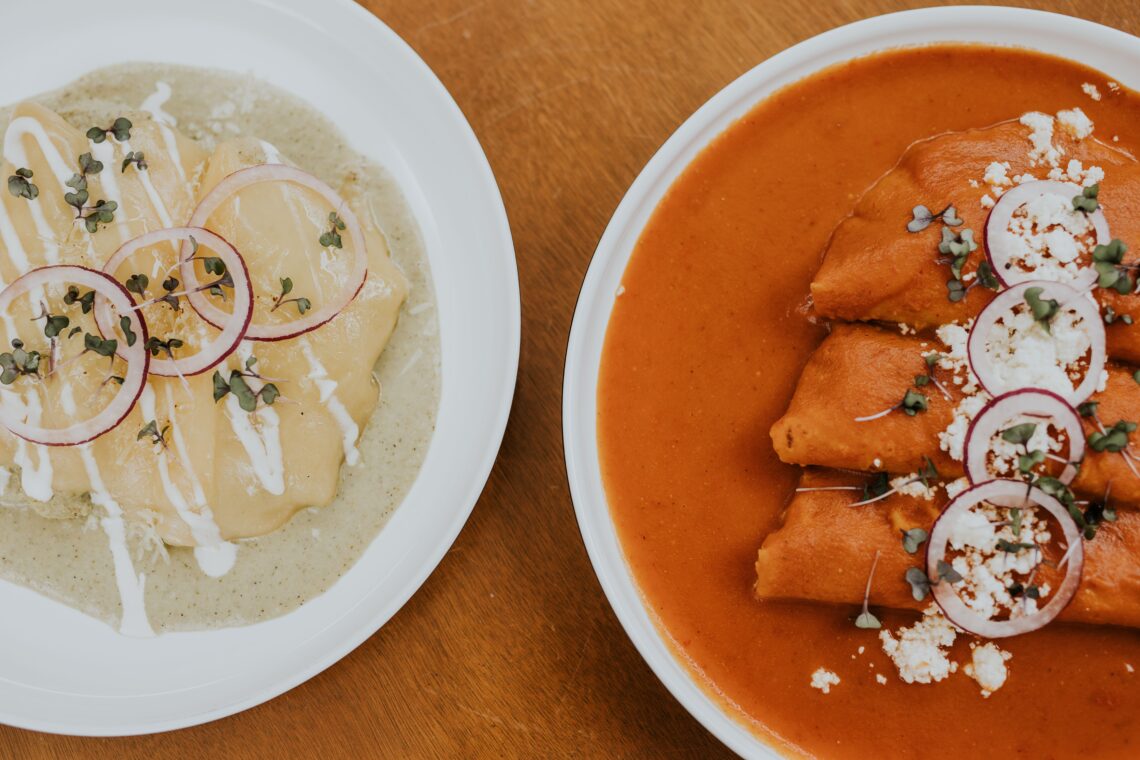
The finishing toppings are where personal taste takes over, and this is an area where the recipe is genuinely forgiving. Thinly sliced white onion and fresh cilantro are the most traditional garnishes. A spoonful of Mexican crema, which is thinner and slightly tangier than American sour cream, cuts through the richness of the sauce. Crumbled cotija cheese adds a salty, dry contrast to the melted cheese underneath.
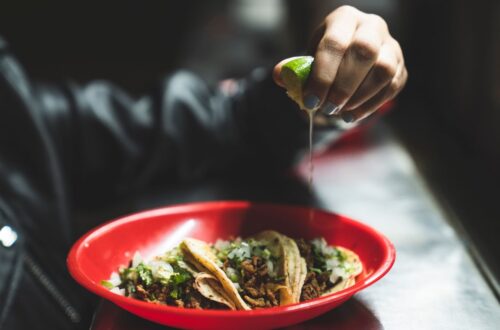
Sliced radishes add crunch. A squeeze of lime at the table wakes everything up. None of this is mandatory, but the combination of warm, saucy enchiladas with cold, crisp toppings is one of those textural moments that makes the dish feel finished rather than just done.
The whole process-, sauce, filling, assembly, bake- runs about an hour start to finish, with the sauce taking roughly twenty-five of those minutes. For a weeknight dinner, that’s a real ask. But the sauce freezes beautifully, so making a double batch and keeping half in the freezer means the next time you want enchiladas, you’re looking at a thirty-minute meal with almost no effort.
The sauce is the recipe, really. Everything else is assembly. Once you know how the chiles behave in the pan, how the color shifts when it’s right, and what the finished sauce should taste like- smoky, a little fruity, warm with cumin- you’ll find yourself reaching for it for things beyond enchiladas. It goes on eggs. It works as a braising liquid for chicken thighs. It makes a bowl of rice into something worth eating.
Most home cooks who try this once stop buying the canned version entirely. That says something about what a small amount of effort, applied in the right place, can actually do.
Sources
Technique reference for dried chile preparation and sauce construction
Traditional method reference for authentic Mexican enchilada technique
This article was created with AI assistance and reviewed for clarity and accuracy.