There is a moment about halfway through making tamales for the first time when most people stop and wonder what they’ve gotten themselves into. Corn husks soaking in the sink, masa spread unevenly across three of them, filling sitting in a bowl going cold, and a vague feeling that someone else’s grandmother did this differently. That feeling is normal. It means you’re actually making tamales.
The good news is that tamales are more forgiving than they look. The process is long, not difficult. What trips people up is not knowing what each step is actually for, so when something looks wrong, they don’t know whether to fix it or keep going. This guide is built around that problem: what to do and why it matters.
What You’re Actually Building
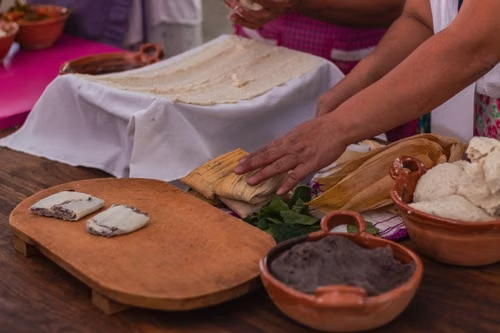
A tamale is masa, a dough made from masa harina, fat, broth, and salt, spread onto a softened corn husk, filled, folded, and steamed until the dough firms up and pulls cleanly away from the husk. Every step in the process either prepares one of those components or protects the final texture during cooking.
The masa harina is dried, nixtamalized corn that’s been ground fine. Nixtamalization is the process of soaking dried corn in an alkaline solution, traditionally lime water, which softens the hull, unlocks nutrients, and gives masa its distinctive flavor. You can’t replicate that with regular cornmeal; the texture and taste are completely different. Bob’s Red Mill and Maseca both make widely available masa harina, and either works well here.
The Masa: Getting the Texture Right
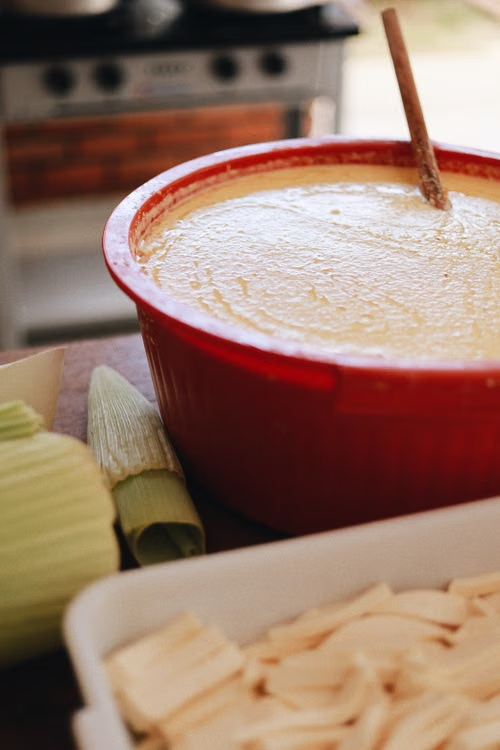
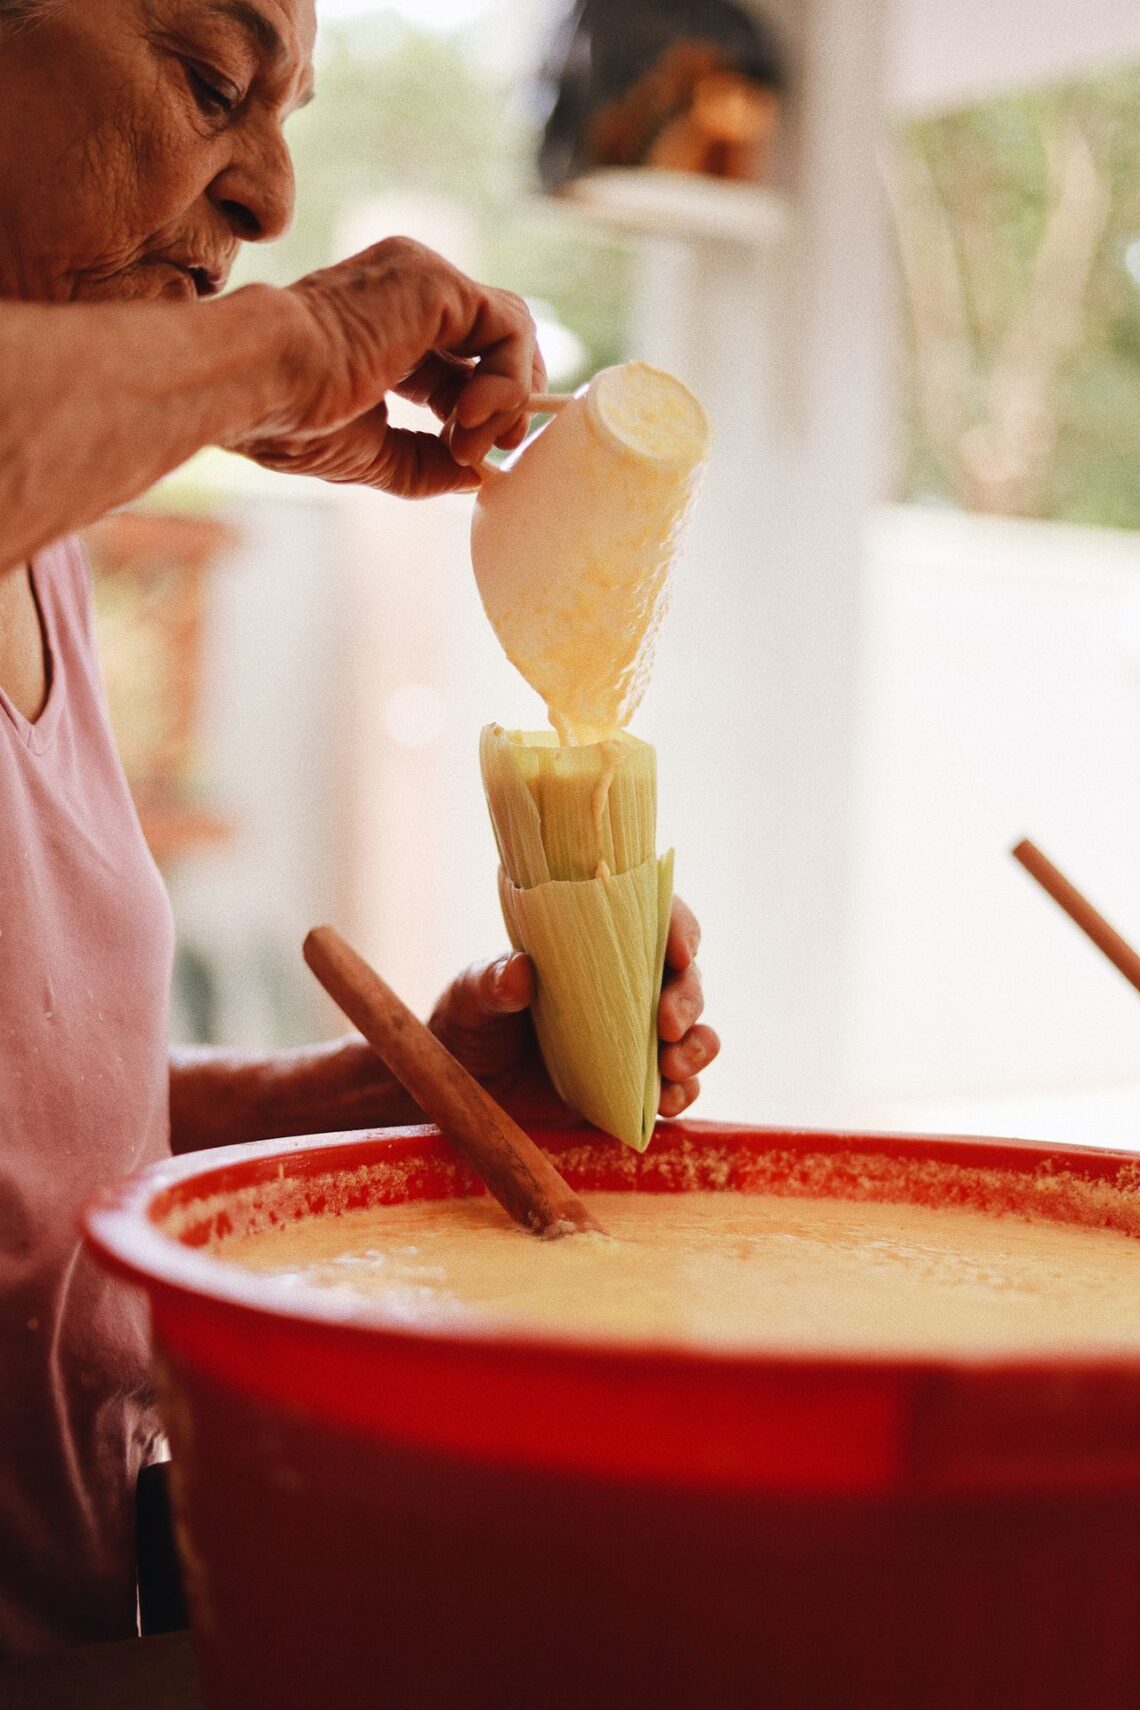
Mix masa harina with warm broth, softened lard or vegetable shortening, baking powder, and salt. The fat is not optional; it’s what gives the masa its tender, slightly springy texture after steaming. Recipes that skip fat or reduce it dramatically produce tamales that are dense and gummy. Use lard if you can find it. The flavor is noticeably better.
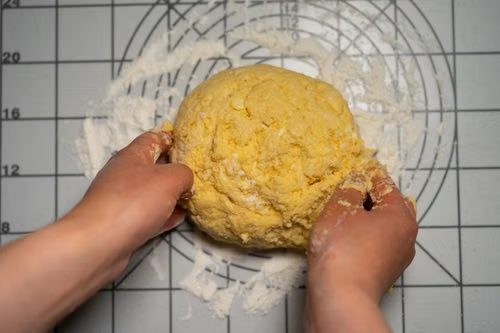
The test for masa readiness is simple and worth doing every time. Take a small ball of masa and drop it into a glass of cold water. If it floats, the dough has enough air beaten into it, and you’re ready to spread. If it sinks, beat it for another two to three minutes. That float test has been used in Mexican home kitchens for generations because it works; it’s a better indicator than any clock.
And here’s the part most first-timers miss: the masa should be the consistency of soft peanut butter when it’s right. Spreadable but not runny, and it should hold its shape on the husk without sliding. If it’s too stiff, add broth a tablespoon at a time. If it’s too soft, add a little more masa harina. Small adjustments matter more here than anywhere else in the process.
Soaking the Husks and Spreading the Masa
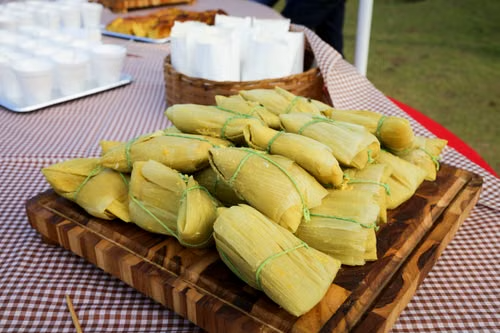
Dried corn husks need to soak in hot water for at least 30 minutes before you use them. They need to be pliable enough to fold without cracking. Cold water works eventually but takes much longer. Keep them submerged with a heavy bowl or plate; they float.
Once the husks are soft, pat them thoroughly dry before spreading. A wet husk makes the masa harder to control and can affect the steam. Spread the masa onto the wider end of the husk, leaving about an inch border on the sides and two inches clear at the narrow bottom end. That clear space at the bottom is what you fold up; it keeps the filling contained during steaming.
The layer of masa should be about a quarter inch thick. Thinner than that and the tamale can tear. Thicker and the masa-to-filling ratio goes wrong, and the whole thing takes longer to cook through. A quarter inch sounds precise, but after the second or third tamale you stop measuring and start knowing what it looks like.
The Filling: Almost Anything Works
Traditional fillings include braised pork in red chile sauce, chicken in salsa verde, cheese and roasted poblano, and black bean with cheese. The key is that whatever goes in should be cooked, well-seasoned, and not too wet. Excess liquid from the filling will make the masa soggy and the tamale difficult to unwrap cleanly.
Place the filling down the center of the masa, leaving a strip of bare masa on one long side. That bare strip is what seals the tamale when you fold it; when the two edges of masa meet, they press together and form a seam. If the filling goes all the way to the edge, the seam won’t hold.
Fold the husk so that the bare masa edge overlaps the filled side, then fold up the bottom flap. Some recipes call for tying the tamale with a strip of torn husk. It’s not strictly necessary if your fold is tight, but it helps when you’re learning.
Making Them Ahead and Storing Them
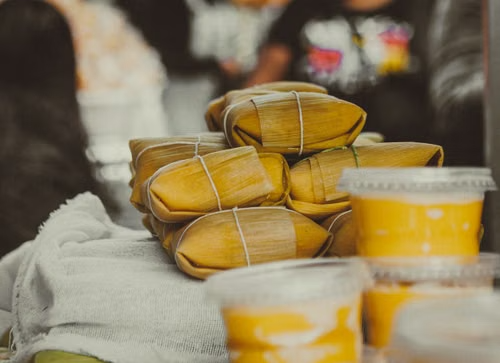
Tamales reheat beautifully, which is part of why they’ve always been made in large batches. Refrigerate leftovers wrapped in their husks for up to five days. To reheat, steam them again for 15 to 20 minutes, or wrap in a damp paper towel and microwave for about two minutes. The microwave method is faster but can dry the edges slightly; steaming keeps the texture closer to fresh.
For longer storage, freeze tamales after they’ve cooled completely. They keep well for up to three months. Steam them from frozen, adding about 20 minutes to the usual reheating time.
One batch of tamales takes most of an afternoon. It also makes enough for a week of easy dinners and a few gifts. That’s the math that has always made tamale-making a group activity; the work is steady and repetitive in a way that’s easier with company, and the yield is generous enough to share.
Sources
Background on nixtamalization, regional variations, and traditional preparation methods
Overview of masa harina production, fat content, and texture science
This article was created with AI assistance and reviewed for clarity and accuracy.