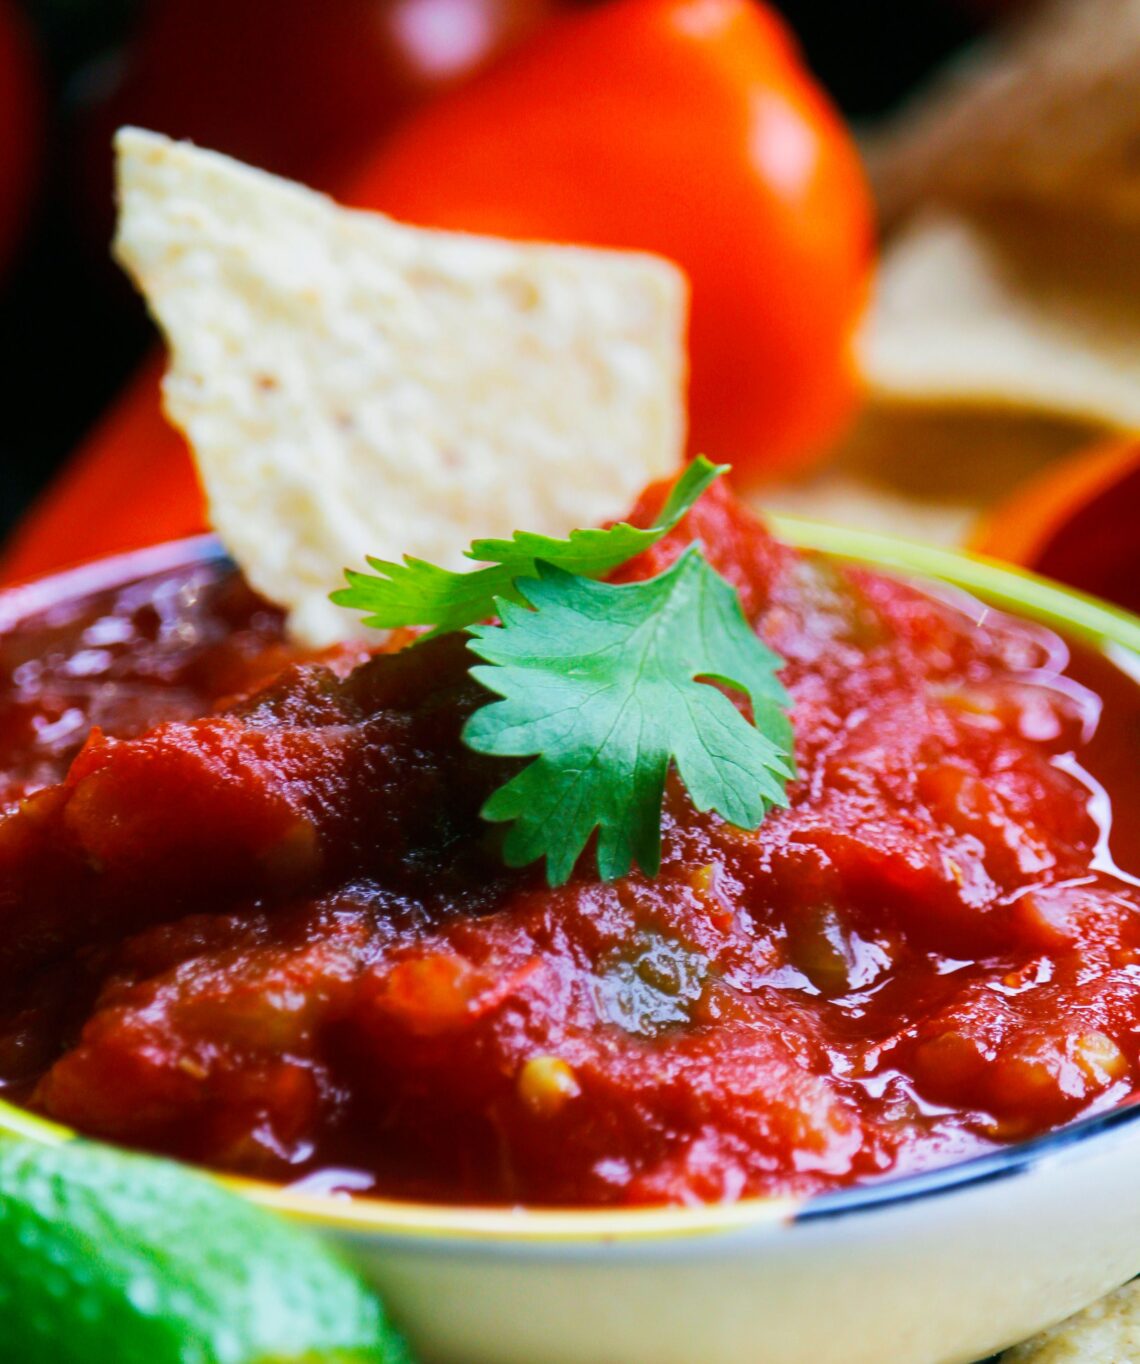
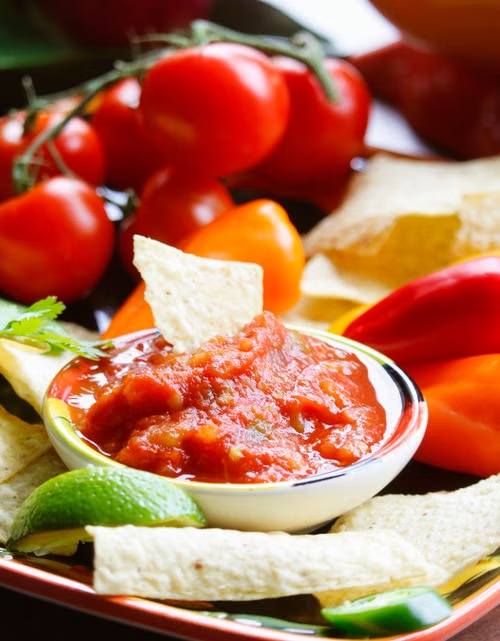
Every summer, the same thing happens. You dice a pile of beautiful tomatoes, chop the onion and jalapeño, squeeze in the lime, and stir it all together, and twenty minutes later, the bowl is sitting in half an inch of pinkish liquid. The chips go soggy. The flavor goes thin. And you find yourself wondering what went wrong.
Nothing went wrong, exactly. Tomatoes are roughly 94 percent water by weight, and most salsa recipes never account for that.
Tomatoes are roughly 94 percent water by weight. That isn’t a flaw in the tomato. It’s just what a tomato is. When you cut into one, you rupture thousands of tiny cell walls, and the liquid inside those cells — along with the juice from the seed cavities- starts releasing immediately. Toss that with salt and let it sit for any length of time, and osmosis pulls even more liquid out of the flesh. By the time the salsa reaches the table, you’re dealing with a small, tomato-flavored pool.
And here’s the part most home cooks don’t expect: salt makes it worse before it makes it better. A well-salted salsa draws more moisture from the vegetables than an undersalted one. That’s not a reason to skip the salt; it’s a reason to understand the process and work with it instead of against it.
What’s Actually Happening in the Bowl
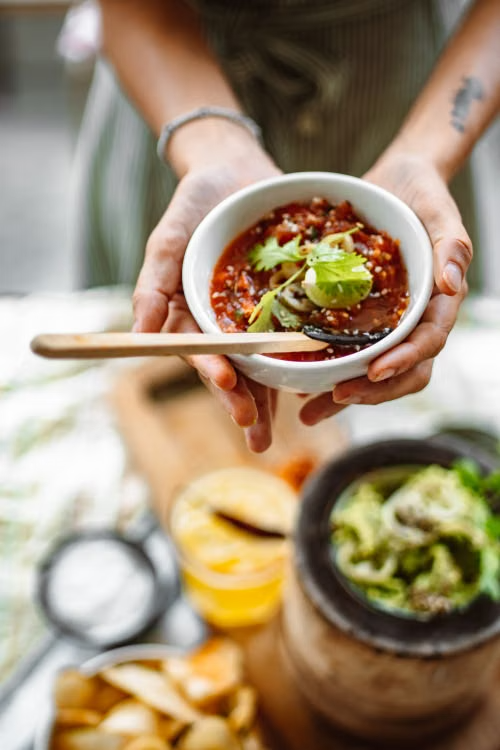
The science is straightforward, even if recipes rarely explain it. Tomatoes have three sources of excess water: the jelly-like seed pockets, the juice that floods out when you cut the flesh, and the moisture released by osmosis once salt enters the picture. Each one contributes to the puddle at the bottom of your bowl.
Onion and cucumber add their own moisture. Lime juice adds more. If your salsa includes tomatillos, those bring a high water content too. You’re essentially combining five or six high-moisture ingredients and then salting them, which is about as reliable a way to generate liquid as any technique in the kitchen.
The fix isn’t complicated, but it does require a small shift in how you approach the prep.
The Steps That Actually Help
Start with the tomatoes. Before you do anything else, cut them in half through the equator, not through the stem end, and use a spoon or your thumb to scoop out the seed pockets and the surrounding gel. This removes the single biggest source of excess water in a fresh salsa. You lose a little tomato flavor with it, but you lose far more flavor when the salsa drowns in its own juice.
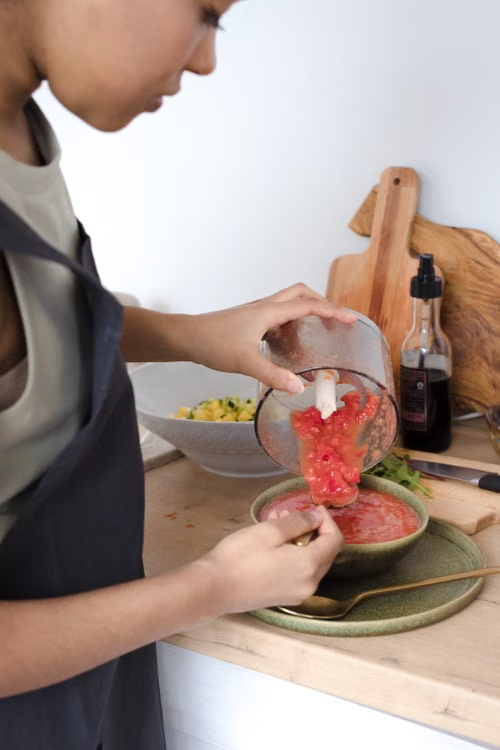
After seeding, dice the tomatoes and put them in a colander set over a bowl. Salt them lightly and let them sit for at least fifteen minutes. The salt draws out moisture that would otherwise end up in your salsa, and the colander lets it drain away rather than pool at the bottom of your prep bowl. Some cooks give the tomatoes a gentle squeeze in their hands before adding them to the mix. That works too.
The same logic applies to onion. If you’re using raw white or yellow onion, soak the diced pieces in cold water for ten minutes after chopping. It takes the sharpness down and removes some surface starch, and it also gives the onion a chance to release liquid outside the bowl instead of inside it.
Then there’s the question of when you salt the finished salsa. Salt at the very end, right before serving, and taste as you go. Early salting is what turns a fresh, vibrant salsa into something swimming in brine by the time anyone gets to it.
The Tomato You Pick Matters More Than the Recipe
Roma tomatoes, also called plum tomatoes, have a lower seed count, thicker flesh, and less juice than the average beefsteak or round slicing tomato. They were developed partly for sauces and canning, which means they naturally have less of the liquid that causes problems in fresh salsa. If your grocery store has them, they’re almost always the better choice for salsa fresca.
Campari tomatoes are another reliable option. Smaller, denser, and sweeter than standard field tomatoes, they hold their texture after cutting and don’t immediately flood the bowl. Cherry tomatoes, halved and salted, can work well too, especially in late summer when they’re at peak ripeness and flavor.
What to avoid: the large, pale, out-of-season tomatoes sold in plastic-wrapped packs in winter. They tend to have a high water content, thin flavor, and a texture that collapses almost immediately after cutting. A salsa built on those will be watery before you’ve even reached for the cilantro.
One More Move Worth Trying
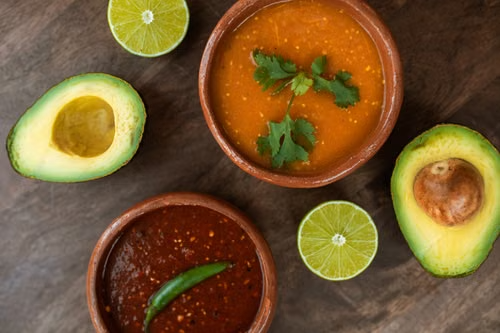
If you want to go a step further, consider roasting half the tomatoes before adding them to the salsa. A quick run under the broiler, cut side down on a foil-lined sheet, until the skins blister and the edges start to char, concentrates the flavor and cooks off a significant amount of moisture. Combine the roasted tomatoes with fresh diced ones, and you get depth and brightness in the same bowl. It’s a technique used in a lot of regional Mexican cooking, and it works just as well in a home kitchen.
The other option is to simply make the salsa closer to serving time. The longer any fresh salsa sits, the more liquid it accumulates. If you prep everything an hour ahead and combine it at the last minute, you’ll have a noticeably tighter, fresher result than a salsa that’s been sitting in the fridge since noon.
Watery salsa is one of those problems that feels like a recipe failure but is really just an ingredient problem with a technique solution. The tomatoes are doing exactly what tomatoes do. You just have to decide whether to work around them or with them.
Either way, the chips will thank you.
Sources
Background on tomato water content and salting technique in fresh sals
Technique reference for seeding tomatoes and draining before combining
Reference for Roma tomato selection and salsa prep timing
This article was created with AI assistance and reviewed for clarity and accuracy.