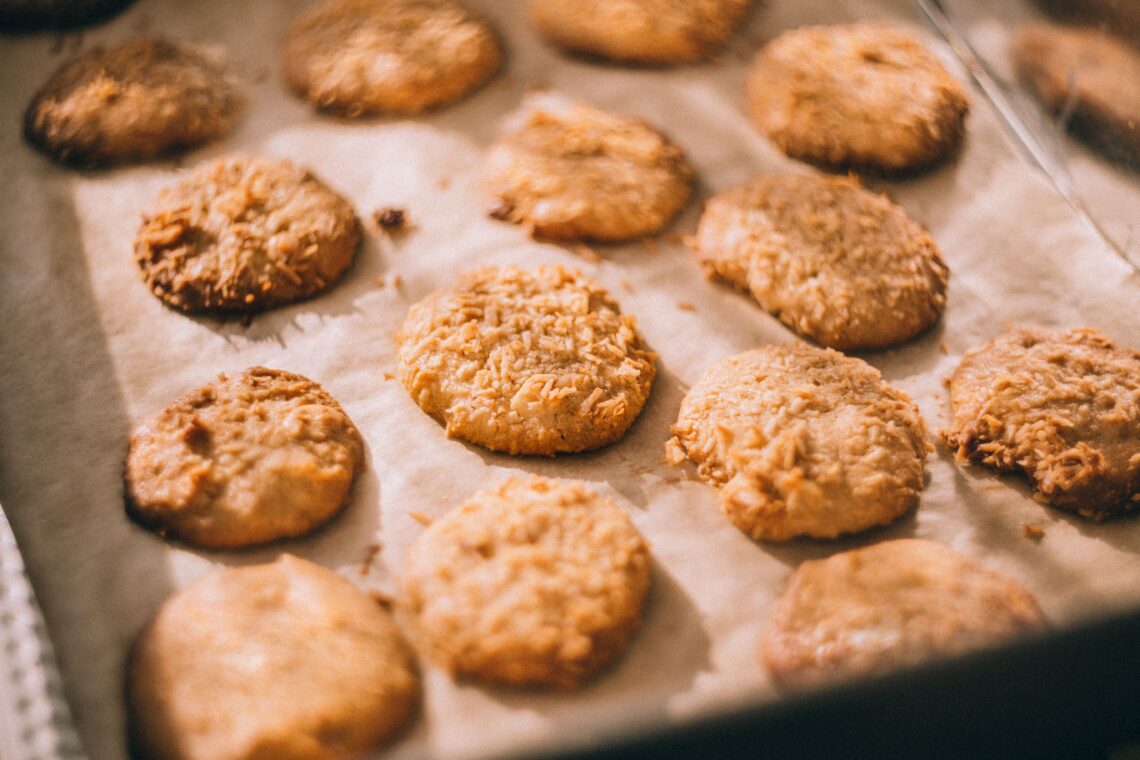
Here is a particular frustration in opening the oven door to find that your carefully scooped mounds of dough have melted into one another across the pan thin, lacy at the edges, a little greasy in the middle. You followed the recipe. You measured. And yet.
The good news is that cookie spreading is almost never mysterious. Every time it happens, there’s a reason. Usually more than one. And once you understand the mechanics, you can diagnose the problem by looking at the cookie itself before you’ve even tasted it.
Here are the most common culprits, and what to do about each one.
Butter Temperature Is the Biggest Variable
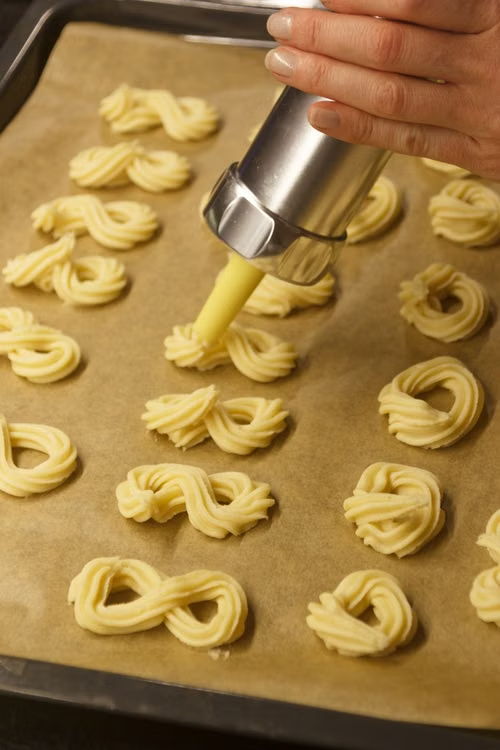
Butter is the engine of cookie spread, and its temperature at the moment it enters the dough determines almost everything. When a recipe calls for “softened butter,” it means butter that holds a thumbprint without being greasy or shiny, roughly 65°F to 68°F. At that temperature, butter creams properly with sugar, trapping air and giving the dough structure.
Butter that’s too warm, pulled from a warm kitchen, melted by mistake, or microwaved past the point of soft, goes into the dough as a liquid fat. It has no ability to hold air. The moment it hits the hot oven, it runs, and the cookie runs with it.
This is why so many recipes fail in summer. A kitchen at 80°F will soften butter fast. What feels like “room temperature” in January is not the same thing in July. If your butter is leaving a grease slick on the wrapper, it’s already too far gone. Chill it for 10 minutes and check again.
Melted butter isn’t always wrong, some recipes call for it intentionally, producing a chewier, denser cookie with more spread by design. Brownies and some chocolate chip variations use this on purpose. But if your recipe doesn’t specify, softened is what it means.
Your Flour Measurement Is Almost Certainly Off
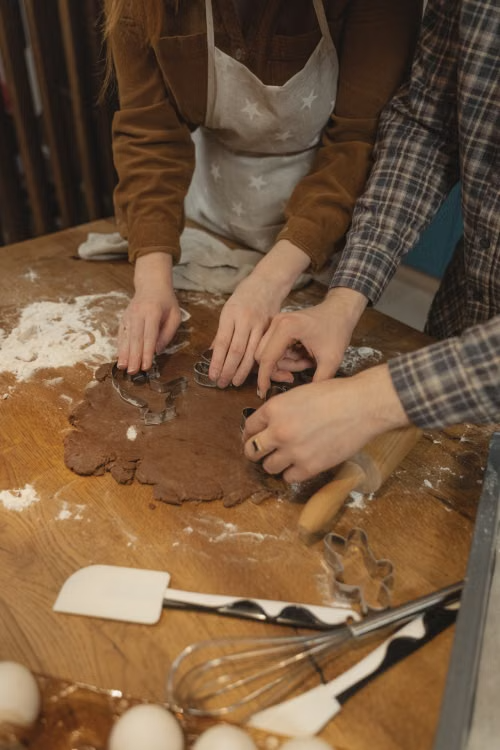
Flour is the structure in a cookie. It absorbs fat, gives the dough body, and slows the spread while the edges set. Too little flour, and the dough doesn’t have enough to push against the butter’s urge to flow.
The problem is that most home bakers measure flour by scooping the measuring cup directly into the bag. That packs the flour, sometimes by as much as 20 to 30 percent more than the recipe intends. You’d think extra flour would help. But if the original recipe assumed loosely spooned flour, and you’re packing it tight, you’ve already thrown off the balance.
The fix: spoon flour into the measuring cup with a separate spoon, then level it off with a straight edge. Better still, use a kitchen scale. A cup of all-purpose flour weighs about 120 to 125 grams. If your recipe gives a gram weight, use it. If it doesn’t, the spoon-and-level method is the next best thing.
And here’s the part most people miss: if your dough looks noticeably looser or stickier than the photos in the recipe, add a tablespoon of flour at a time until it firms up. Recipes are written for average conditions. Your humidity, your flour brand, your kitchen temperature, all of it shifts the math slightly.
The Pan and the Parchment
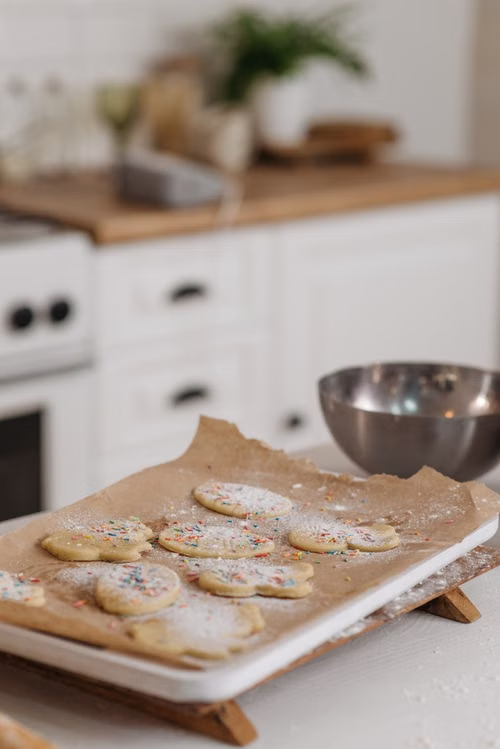
A dark baking sheet absorbs more heat than a light one, which means the bottom of the cookie sets faster, sometimes faster than the top can catch up. That bottom-up heat also encourages spreading before the structure firms. If you’re seeing thin, dark-bottomed cookies, your pan color is likely contributing.
Light-colored, heavy-gauge aluminum pans bake more evenly. If you only have dark pans, lower your oven temperature by 25°F and watch the timing.
Greased pans are another common culprit. Many older recipes call for greasing the baking sheet, and many bakers do it out of habit. But a greased surface gives the dough nowhere to grip, it slides and spreads before the edges can set. Parchment paper or a silicone baking mat gives the dough just enough friction to hold its shape in those first few minutes of heat, which is when spreading happens most aggressively.
Old Dough Is Your Best Tool
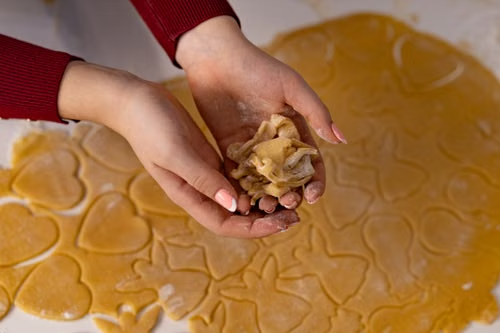
This is the fix that works even when you’re not sure what went wrong. Chilling the dough, even for 30 minutes in the refrigerator, firms the butter back up and gives the flour time to fully hydrate. When cold dough goes into a hot oven, the edges begin to set before the center has fully warmed through. That delay is what gives you height.
An overnight chill does even more: it deepens the flavor through a slow enzymatic process in the flour, and it consistently produces a thicker, chewier cookie. Many professional bakers rest their dough for 24 to 72 hours for exactly this reason.
If you’ve already portioned the dough onto the sheet, slide the whole pan into the fridge for 15 to 20 minutes before baking. It takes almost no extra time and makes a real difference.
An oven that reads 350°F isn’t always baking at 350°F. Most home ovens run anywhere from 25 to 50 degrees off their dial setting, and many have hot spots that bake unevenly across the rack.
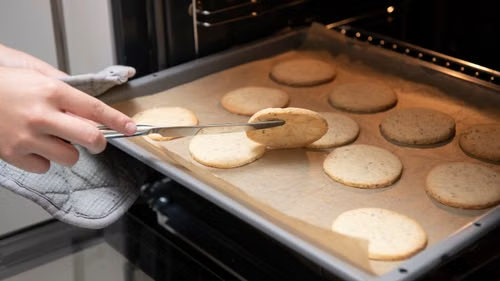
A cookie that spreads dramatically on one side of the pan and holds its shape on the other is usually a hot spot problem. Rotating the pan halfway through the bake helps. An inexpensive oven thermometer tells you what your oven is actually doing. If it’s running hot, your butter melts before the structure sets, and the cookie spreads.
Baking soda that’s been sitting in the cabinet for two years has lost much of its lift. Old leavening means the cookie doesn’t puff before it spreads, it just spreads. Test baking soda by dropping a teaspoon into hot water with a splash of vinegar. I
And finally: don’t crowd the pan. Cookies that bake too close together trap steam between them, which slows the edges from setting. Leave at least two inches between each ball of dough.
What to Look for Before You Even Bake
Source: pexels
The dough itself tells you a lot. A well-balanced cookie dough holds its shape when scooped, it doesn’t slump or spread on the pan before the oven even enters the picture. If your portioned dough is already flattening at room temperature, the dough is too warm, too soft, or too lean on flour. Chill it. Don’t bake it hoping for the best.
One more thing worth knowing: the first pan out of a cold oven often bakes differently than the third pan out of a fully hot one. Give the oven 15 minutes to fully preheat. Some bakers heat to 25 degrees above the target temp, then drop it when the pan goes in, a trick that compensates for the temperature drop that happens when you open the door.
Flat cookies have a fix. Almost always, it’s the butter.
Sources
General baking science reference for flour measurement, butter temperature, and cookie troubleshooting guidance
Detailed breakdown of cookie spread science, including butter state, sugar ratios, and resting dough
This article was created with AI assistance and reviewed for clarity and accuracy.