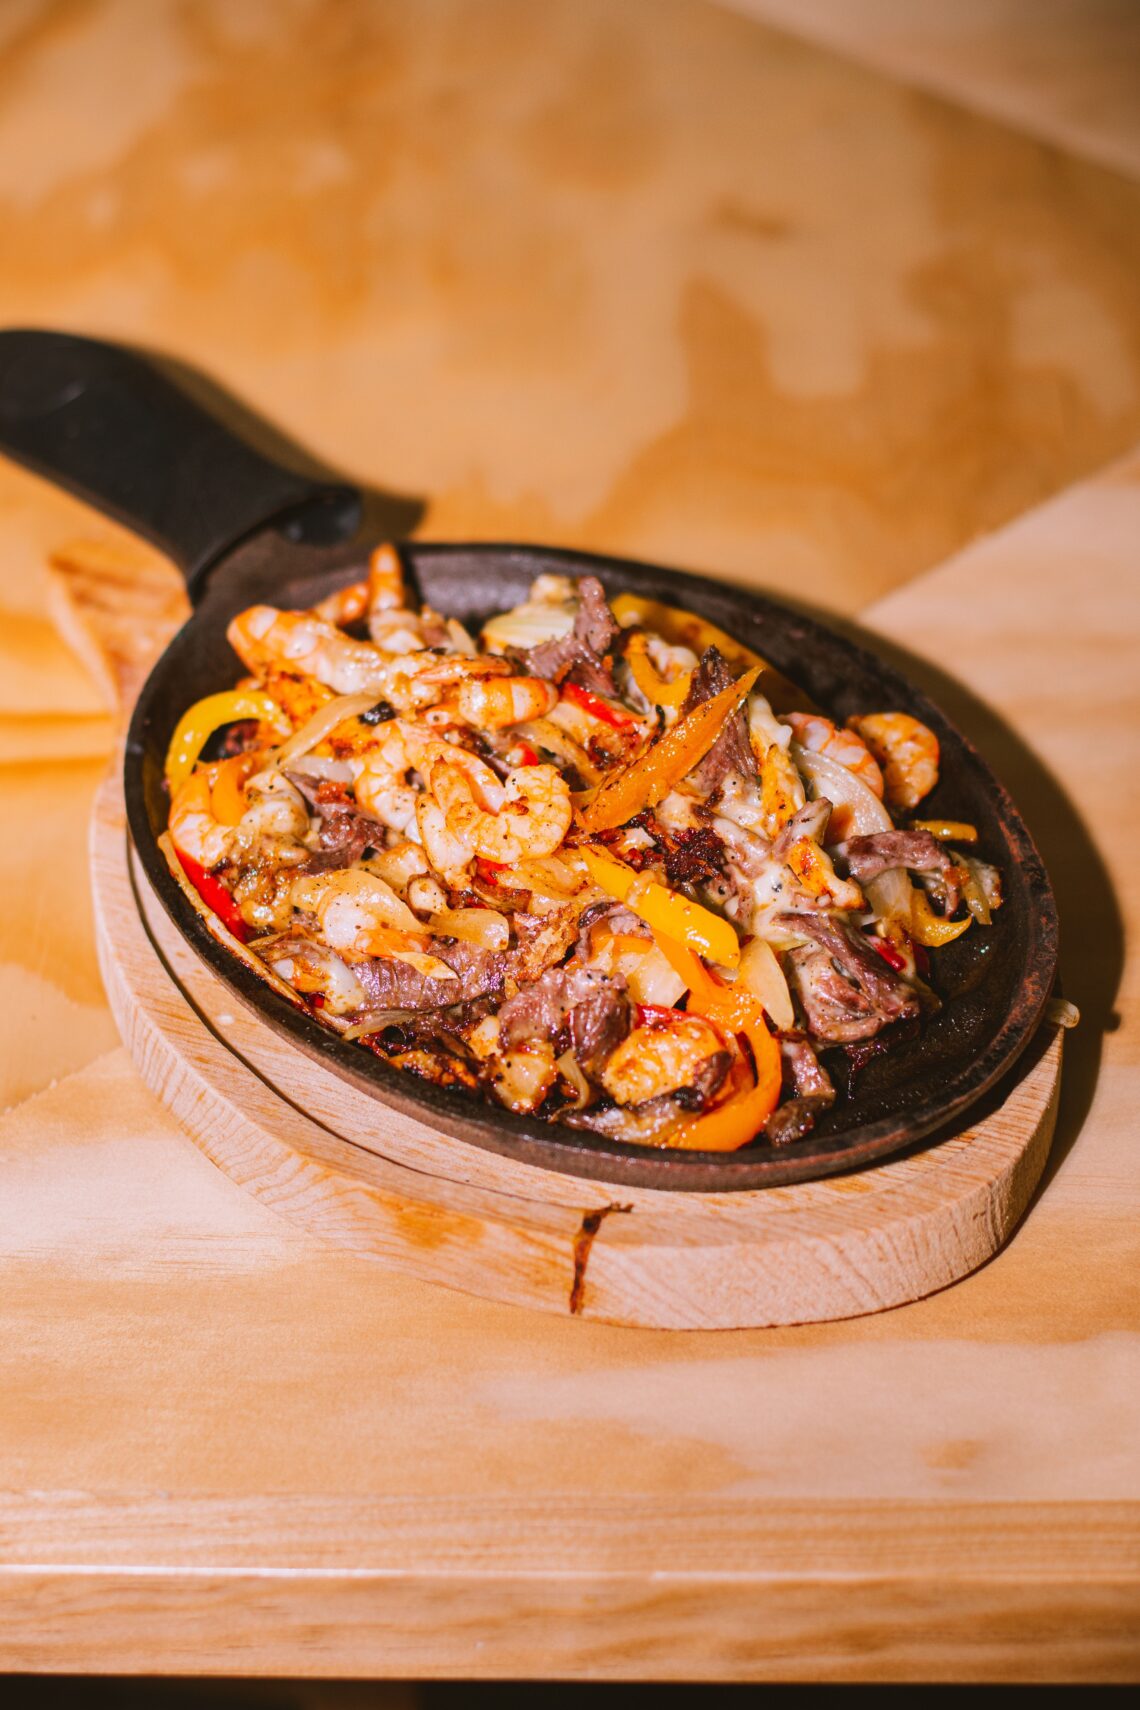
There are exactly two ways to ruin chicken fajitas: cook the chicken until it dries out, or crowd the pan so the peppers steam instead of char. Both mistakes are easy to make on the stovetop. The oven solves both of them at once, and most home cooks haven’t made the switch yet.
Sheet-pan fajitas are a different technique with a better outcome, and once you understand why high, dry heat changes what the peppers and onions do, you’ll stop treating the skillet as the default.
What the Oven Actually Does
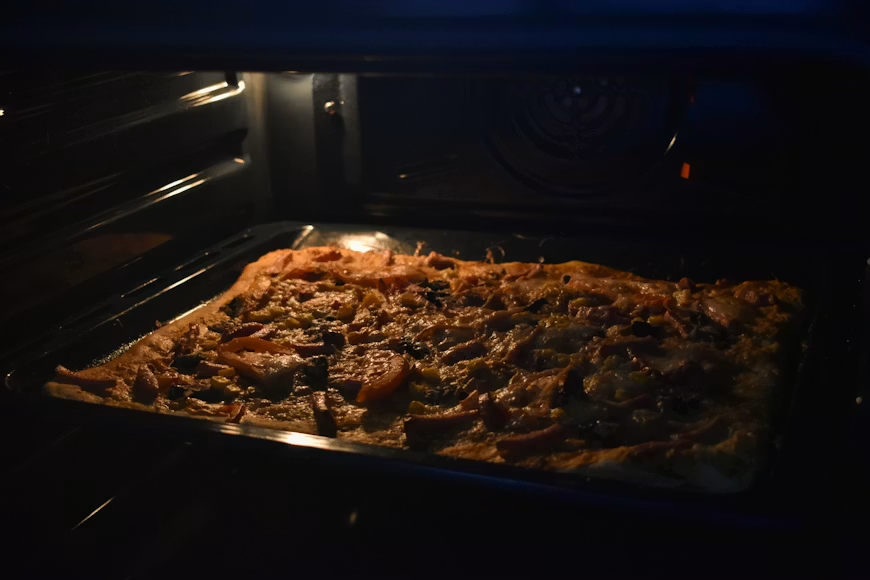
A 425°F oven runs hot and dry. That matters here because fajita peppers and onions need to lose moisture quickly, concentrate their sugars, and pick up a little color at the edges. On the stovetop, you have to work the pan constantly to get there — high heat, fast movement, risk of steaming if the pan gets crowded. In the oven, you spread everything in a single layer and let radiant heat do the work. The edges of the peppers go lacy and slightly blistered. The onions go translucent and sweet at the center with a faint char at the tips. The chicken gets a proper sear on top from the oven’s ambient heat while the underside cooks through gently.
The Maillard reaction, the browning that produces the roasted, slightly sweet flavor on the surface of the meat and vegetables, needs surface moisture gone before it can happen. The oven handles that passively. The stovetop requires you to manage it actively, which is fine with a single serving but punishing when you’re feeding four.
And here’s the thing most fajita recipes skip: the resting step for the chicken. Pull it from the pan, tent it loosely with foil, and let it sit for five minutes before you slice it. Carryover cook will take the internal temperature up a degree or two, and the juices redistribute. Slice too soon, and they run out onto the cutting board. You lose the moisture you worked to keep.
The Marinade Is the Work
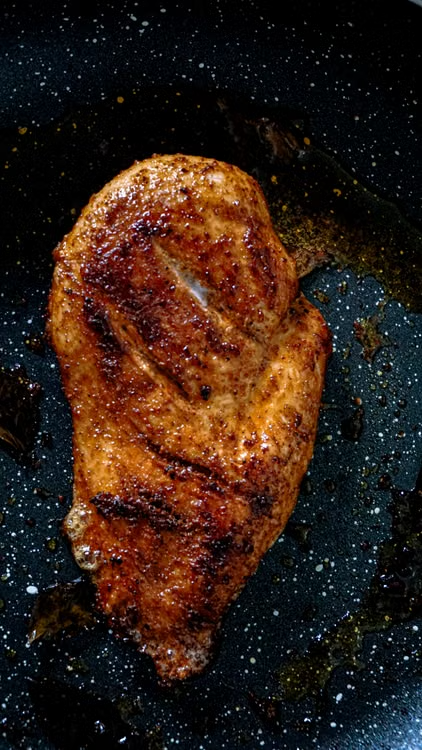
Sheet-pan fajitas are a fast dinner, but the marinade is where the flavor actually lives, so don’t rush it. Thirty minutes is the minimum. Two hours is better. Overnight is fine for chicken thighs, though breast meat starts to break down in texture past about four hours in an acidic marinade, so watch the clock there.
The base is simple: oil, lime juice, garlic, cumin, chili powder, salt. The oil carries the fat-soluble spices into the meat and helps the surface brown. The acid tenderizes slightly. The garlic and cumin are the flavor spine. Some cooks add smoked paprika for depth, oregano for an earthy note, or a pinch of cayenne for heat. All of those work. What doesn’t work is skipping the salt; it needs time to penetrate the chicken, not just season the surface.
One ratio worth keeping: roughly two tablespoons of oil to one tablespoon of lime juice per pound of chicken. Too much acid and the texture goes mealy. Too little and the flavor stays on the surface.
Toss your sliced peppers and onions in the same marinade. They don’t need as long; 15 minutes is enough to coat them, but using the same mixture keeps the whole pan tasting like one coherent dish instead of chicken alongside vegetables.
How to Set Up the Pan
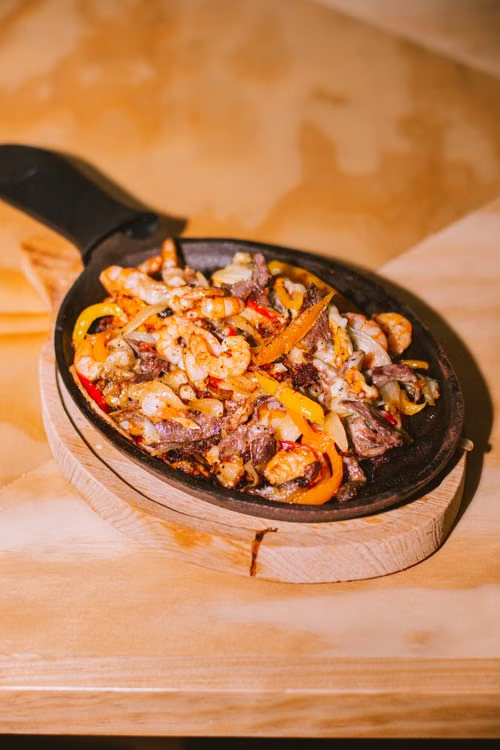
Use a heavy rimmed sheet pan; a standard half-sheet is 18 by 13 inches, which fits about 1.5 pounds of chicken and four to five peppers without crowding. If your pan is smaller, split the load between two pans rather than pile everything together. A crowded pan steams. A spaced pan roasts. The difference shows up in the texture of every single vegetable on the pan.
Arrange the chicken in the center, peppers and onions spread around the edges. The edges of the pan run slightly hotter than the center; that’s where you want the vegetables, since they benefit from more aggressive browning. The chicken in the middle cooks more evenly.
Line the pan with foil if cleanup matters to you. The marinade will caramelize and stick, and without foil you’re scrubbing sugar residue. With foil, you’re done in 30 seconds. Just crimp it tightly against the edges so the liquid doesn’t pool under it during roasting.
Roast at 425°F for 20 to 25 minutes, depending on the thickness of your chicken. An instant-read thermometer is the only reliable guide; pull the chicken at 165°F at the thickest part. The vegetables will be done at roughly the same time, maybe a minute or two ahead.
The Last Step Most People Skip
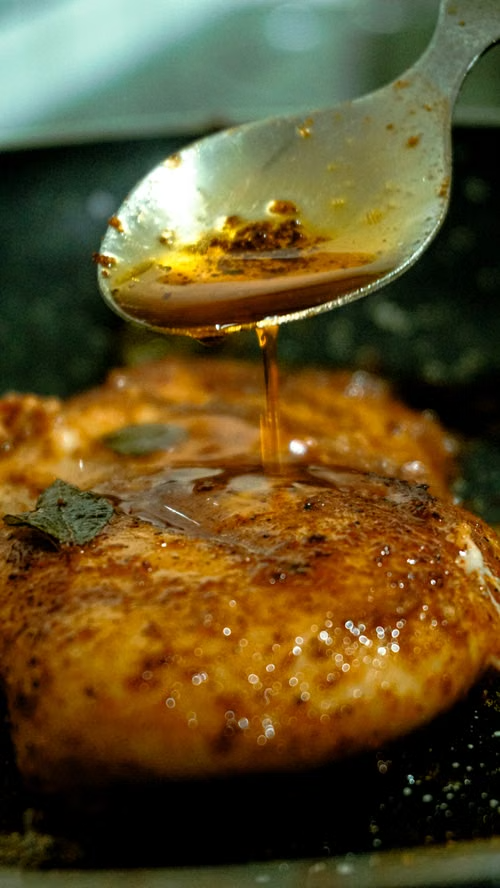
Broil for the final two to three minutes. Switch the oven to broil, move the pan to the upper rack, and watch it. This is where the peppers pick up the blistered, slightly smoky edges that look like they came from a very hot cast iron pan. The chicken surface goes from golden to properly charred in spots. This one step is what makes sheet-pan fajitas look like restaurant fajitas instead of baked chicken and vegetables.
Don’t walk away during the broil. Two minutes can turn to four, and four minutes under a broiler with sugar-rich peppers is one burned pan. Stay at the oven.
From there, it’s assembly. Warm your tortillas, directly over a gas burner for 20 seconds per side if you want them slightly charred, or wrapped in a damp paper towel and microwaved for 45 seconds if you want them soft and pliable. Slice the chicken against the grain into strips. Serve with sour cream, salsa, guacamole, and whatever else your table wants. Cotija crumbled over the top is a good move. So is a squeeze of fresh lime right before serving.
The pan feeds four without much effort, reheats well the next day (peppers and chicken keep their texture better than most leftovers), and produces almost no cleanup if you used the foil, which is why this one makes a regular appearance on weeknight rotation because it works.
Sources
Technique reference for high-heat roasting and marinade ratios
Reference for pan setup, timing, and broiling step
This article was created with AI assistance and reviewed for clarity and accuracy.